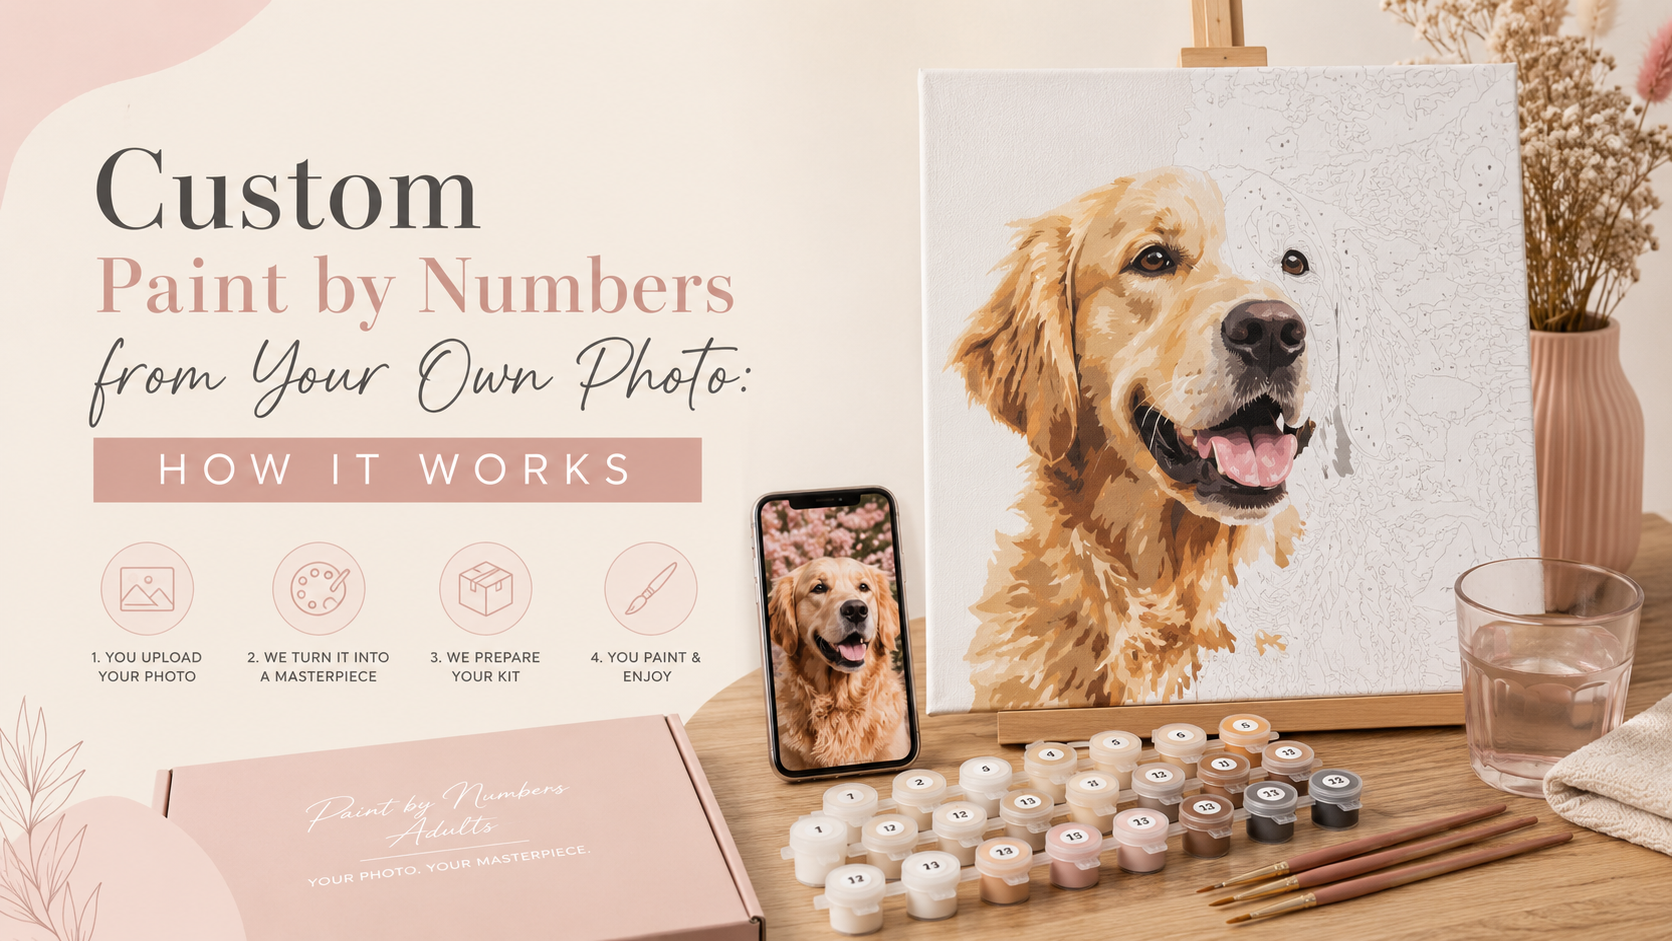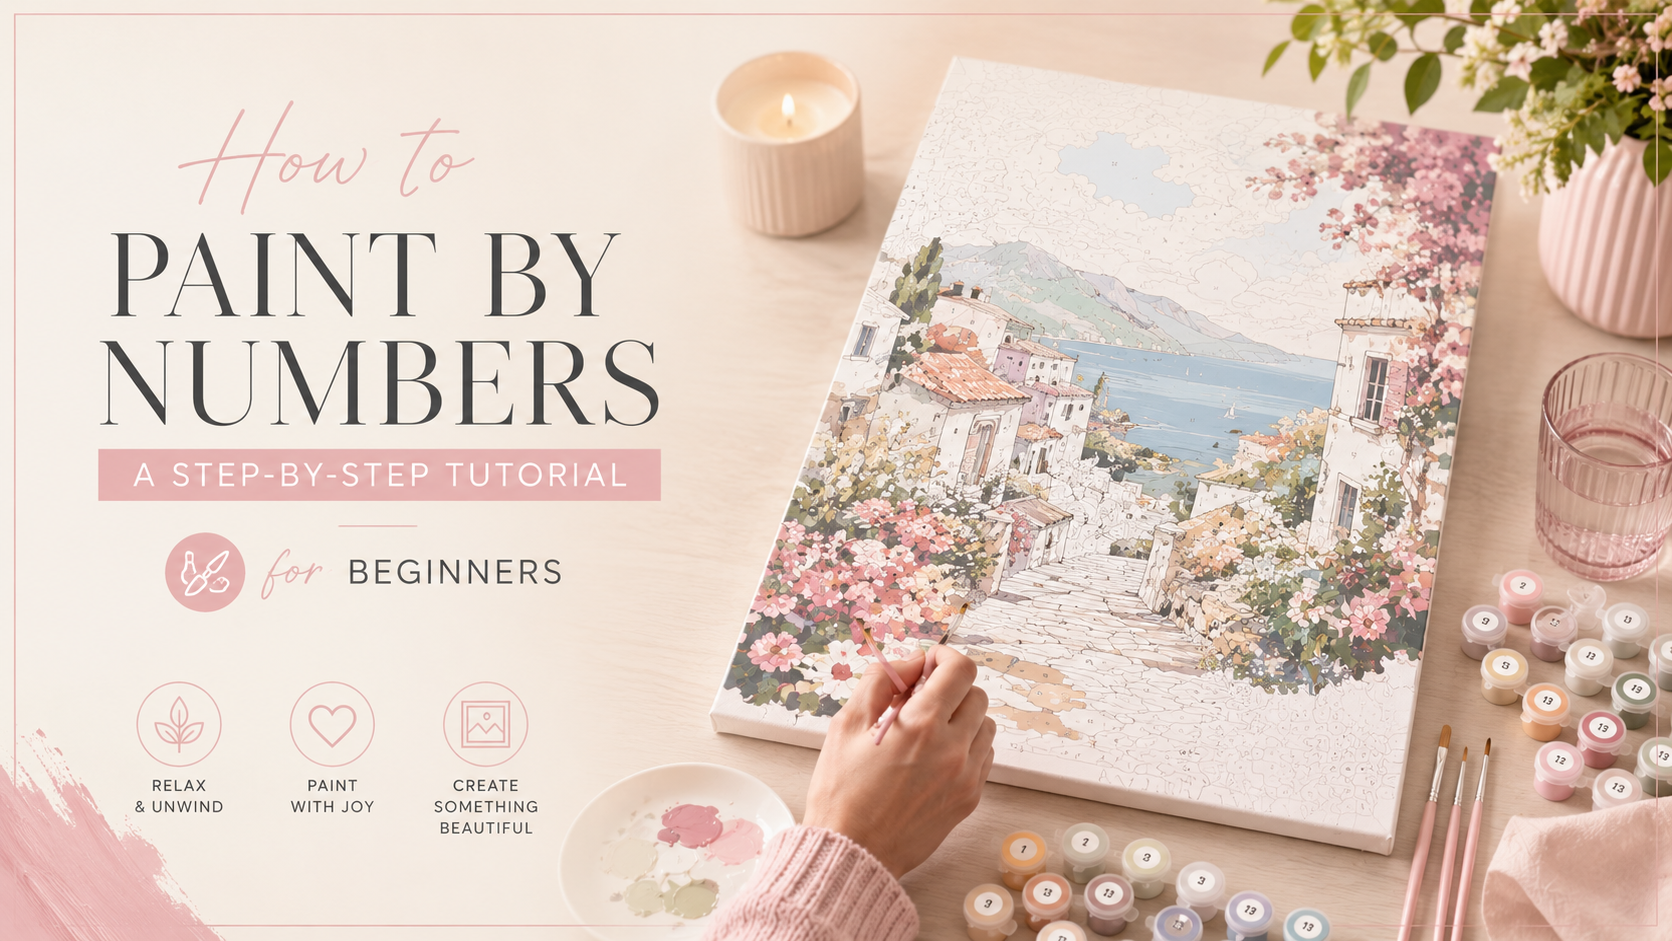
How to Paint by Numbers: A Step-by-Step Tutorial for Beginners
1. Before you start: setting up your workspace in 5 minutes
A good setup prevents most beginner frustrations. You do not need a studio, an easel, or perfect lighting. A kitchen table, desk, or folding table works well as long as the surface is flat, stable, and protected.
Lay down newspaper, kraft paper, a plastic table cover, or an old towel. Acrylic paint can dry quickly on fabric and wood, so it is worth protecting the area before opening the pots. Keep your canvas centered, your paints above or beside your dominant hand, and your water cups where you will not knock them over.
Aim for bright, even light. A small desk lamp helps when you reach tiny sections, especially on portraits, florals, pets, and custom-from-photo kits. If your kit includes a paper reference sheet, keep it nearby. It becomes useful later if a number gets covered or if you need to double-check a shape.
| Setup item | Why it helps |
|---|---|
| Flat table | Keeps paint from pooling unevenly |
| Two water cups | One for rinsing, one for clean water |
| Paper towel | Controls extra water on the brush |
| Desk lamp | Makes small numbers easier to see |
| Phone photo of canvas | Backup before numbers get covered |
For a wider overview of the hobby, read The complete guide.
2. Materials checklist: what's in the kit + what's helpful
Most adult kits include a pre-numbered canvas, numbered acrylic paint pots, a small set of brushes, and sometimes a paper guide. At Paint by Numbers Adults, our kits are designed so you can begin without buying extra supplies, but a few household items make the experience smoother.
Your brushes usually cover three needs: larger spaces, medium sections, and small detail work. Do not worry if the brushes look simple. The key is using the right amount of paint and keeping the bristles shaped.
Helpful extras include toothpicks for tiny dots, painter’s tape to secure the canvas, a magnifying glass for detailed custom designs, and a damp cloth for quick cleanup. A palette is optional; many beginners paint directly from the pots. If you do use a palette, add only a small amount of paint at a time so it does not dry before you use it.
Here is a simple beginner checklist:
- Canvas and paper reference guide
- Numbered acrylic paint pots
- Small, medium, and fine brushes
- Two cups of water
- Paper towels or a clean rag
- Toothpicks for tiny spots
- Good lighting
- Apron or old shirt
A 16-by-20-inch kit often takes beginners about 12 to 20 relaxed hours, depending on detail level.

3. Step 1: Unroll and flatten the canvas
Start by flattening the canvas before you paint. If it was shipped rolled, place it printed-side down on a clean table and gently roll it the opposite direction for a few minutes. Then lay it flat under books overnight if you have time. If you want to start right away, tape the corners to your table with painter’s tape.
Do not iron directly on the printed side. If the canvas has stubborn creases, place it face down, cover the back with a thin towel, and use a low-heat iron briefly. Keep the iron moving and avoid steam unless the canvas instructions say it is safe. The goal is to relax the fabric, not soak it.
Before applying paint, take a clear photo of the entire canvas with your phone. This small habit saves beginners all the time. Once painted, some numbers disappear under the first coat, and your photo becomes a quick backup.
Also check the paint pots against the canvas numbers. Open only one or two pots at first. Acrylic dries when exposed to air, so keeping unused colors sealed helps preserve smooth texture through the project.
4. Step 2: Start with the largest areas first
Large areas are the easiest place to build confidence. They help you get used to the brush, paint thickness, and canvas texture without the pressure of tiny details. Look for backgrounds, skies, water, walls, clothing, or big shadow areas.
Use your medium or larger brush and load only the tip with paint. Too much paint can create ridges or spill over the printed lines. Too little paint can leave streaks. A good first stroke should feel smooth, with enough paint to cover the number lightly without forming a raised blob.
Work in one color for a few sections, then move to nearby areas with the same number. This saves time because you are not cleaning the brush every thirty seconds. Still, avoid painting every matching number across the whole canvas if it forces your hand to drag across wet paint.
From our customers’ feedback, we’ve learned that beginners feel most relaxed when their first session produces visible progress. Finishing one large background color gives you that satisfying “I can do this” moment before the detail work begins.
5. Step 3: Work from dark colors to light
Painting darker colors first is a practical habit, especially for beginners. Dark acrylics usually cover printed numbers more easily, and they help define the main shapes of the image. Once shadows and outlines are in place, lighter colors become easier to place cleanly.
Start with deep blues, browns, blacks, forest greens, burgundy tones, or darker grays. After those areas dry, move gradually toward mid-tones and highlights. This order is especially helpful for animals, landscapes, flowers, and portraits because the contrast appears early.
There are exceptions. If your canvas has a very pale background, you may choose to complete that large light area first so the whole image feels organized. But in general, dark-to-light gives you better control.
Use thin, even coats rather than trying to force full coverage in one pass. A heavy coat can hide nearby lines, leave brush marks, and take longer to dry. A neat first layer followed by a second coat later usually looks cleaner.
Think of the first pass as mapping the painting. The second pass is where the finish becomes rich, smooth, and polished.

6. Step 4: Keep brushes clean - the two-cup method
Clean brushes make the biggest difference in a beginner result. Muddy colors, frayed bristles, and clumpy edges usually come from paint drying inside the brush.
Use the two-cup method. Keep one cup for rinsing paint out of the brush and a second cup for clean water. Swirl the brush in the rinse cup, wipe it gently on a paper towel, then dip it briefly in the clean cup if needed. Before touching the canvas again, blot the brush so it is damp, not dripping.
A dripping brush thins the paint too much and can spread color outside the lines. A dry, stiff brush leaves scratchy strokes. You want the bristles flexible with a small, controlled amount of paint on the tip.
Never leave a brush sitting bristle-down in water. It bends the tip and weakens the brush shape. When switching colors, clean until no color appears on the paper towel. This matters most when moving from black or red into yellow, cream, white, or pale blue.
For a deeper brush-care routine, see our guide on how to clean acrylic brushes.
7. Step 5: Use drying time strategically
Acrylic paint dries fairly quickly, but “dry to the touch” does not always mean ready for a second coat. Give each section enough time so your next layer does not lift or smear the first one.
Instead of waiting with nothing to do, move to a different part of the canvas. Work in zones: top left, top right, center, bottom left, bottom right. This keeps your hand away from wet paint and helps you see steady progress.
If you are right-handed, many people prefer working from the top left toward the bottom right. If you are left-handed, top right toward bottom left may feel cleaner. This is not a strict rule; it simply reduces accidental smudges.
Drying time also helps you judge coverage. A color may look streaky while wet but become more even after it dries. Before adding a second coat, check it under good light. If you can still see the printed number or canvas texture too strongly, add another thin coat.
Short sessions work beautifully. Even 20 to 30 minutes can complete several sections without turning the project into a chore.
8. Step 6: Paint edges with the fine brush
Edges are where a beginner painting starts to look neat. You do not need to outline every section perfectly, but taking your time around borders makes the final piece feel much more polished.
Use the fine brush for small shapes, narrow lines, eyes, whiskers, petals, jewelry, lettering, and any section where two contrasting colors meet. Hold the brush closer to the metal ferrule for control. Rest the side of your hand lightly on a dry part of the canvas if that helps steady your movement.
For crisp edges, pull the brush toward you instead of pushing it away. Use short strokes, especially around curves. If the section is tiny, touch the paint to the canvas with the brush tip rather than dragging a long line.
Do not overload the fine brush. A large bead of paint on a small brush will flood the space. Dip just the tip, then blot if needed.
When a border matters, paint slightly inside the line first. After it dries, you can refine the edge with the neighboring color. This layered approach is much easier than trying to make every line perfect in one pass.
9. Step 7: Cover the numbers with a second coat
Printed numbers can show through pale colors, especially yellow, cream, peach, light pink, and white. This is normal. The fix is not more pressure; it is a second thin coat after the first layer dries.
Before painting the second coat, check the area under strong light. If the number is visible, repaint the same section using a smooth, even stroke. Try to keep the paint within the original shape so the color does not build up over neighboring areas.
For very light colors, you can use a small trick: cover the printed number with a tiny dab of white paint or white acrylic marker first, let it dry, then apply the assigned color. Use this only on the number itself, not across the whole section, because too much white can change the final color.
Do not worry if some texture remains. Paint by numbers is still hand-painted art, and a little brush texture gives it character. The goal is clean coverage, not a plastic-flat surface.
Second coats are also where custom photo kits start to shine, because skin tones, fur, and soft backgrounds become smoother.
10. Step 8: Fix small mistakes without panic
Every painter goes outside the line sometimes. A small mistake does not ruin the canvas. Acrylic paint is forgiving because it dries quickly and can usually be painted over.
If the mistake is still wet, wipe it gently with a slightly damp cotton swab or the corner of a paper towel. Do not scrub hard, because that can roughen the canvas. Let the area dry completely before repainting the correct color.
If the mistake has already dried, cover it with the right color in a thin coat. Dark colors may need one pass; pale colors may need two. Keep your reference photo nearby so you can restore covered numbers or shapes.
For spills on clothing, furniture, or floors, act quickly. Acrylic is easier to remove while wet than after it cures. We have a full cleanup guide here: remove acrylic paint.
The most important beginner habit is staying calm. Many “mistakes” disappear once the neighboring colors are added. Paint section by section, correct what truly needs correcting, and let the full image come together before judging it.
11. 10 pro tips that take your painting to the next level
These small habits make a visible difference, even on your first kit.
- Take a photo before painting. It becomes your number backup.
- Close paint pots immediately. Acrylic thickens when exposed to air.
- Stir thick paint gently. A toothpick works well.
- Use thin coats. Two thin layers look cleaner than one heavy layer.
- Rotate the canvas. Turn it when a section is easier from another angle.
- Paint in zones. This helps prevent smudging.
- Save tiny highlights for later. They look sharper over dry base colors.
- Use a toothpick for dots. Great for eyes, stars, and tiny flowers.
- Step back often. The image looks smoother from normal viewing distance.
- Stop before you get tired. Most slips happen when your hand is tense.
One customer told us she painted her custom pet portrait in six evenings, saving the eyes and nose for the final session. That small decision made the last sitting feel special and gave her steadier hands for the emotional details.
12. Sealing and hanging your finished piece
Once the painting is fully dry, you can seal it for protection and a more finished look. Wait at least 24 hours after your final coat before applying any varnish. If you used thicker paint, give it 48 hours.
Acrylic varnish comes in matte, satin, and gloss finishes. Matte reduces shine, satin gives a soft gallery look, and gloss makes colors appear richer. Test your finish on a small corner or separate painted scrap if possible.
Use a soft, clean brush or spray varnish made for acrylic paint. Apply a thin, even coat and avoid brushing the same area repeatedly once it starts to tack up. Let it dry according to the product instructions before touching or framing.
You can hang your piece stretched on a wooden frame, place it in a standard frame, or use magnetic poster rails for a casual look. For canvases with painted edges, a frameless display can look clean and modern.
For detailed finishing steps, read our guide to seal and varnish your finished artwork.

13. Most common problems and how to fix them
Most beginner issues are simple to solve once you know what caused them.
Paint feels too thick: Add one small drop of clean water and stir with a toothpick. Do not flood the pot. Acrylic should feel creamy, not watery.
Paint looks streaky: Let the first coat dry, then add a second thin coat. This is especially common with light colors.
Numbers are still showing: Use another thin layer. For stubborn light sections, cover only the printed number with a tiny dab of white first.
Brush tip is splitting: Rinse thoroughly, reshape the bristles with your fingers, and avoid leaving it standing in water. If dried paint is stuck near the ferrule, brush control becomes harder.
You painted the wrong color: Let it dry, then paint over it with the correct shade. Use your canvas photo or paper guide to confirm the shape.
Canvas has wrinkles: Flatten it under books or gently iron the back on low heat with a towel between the iron and canvas.
With patience, almost every problem has a simple fix.
5. FAQ block
What order should I paint in?
Start with the largest areas, then work from dark colors to light colors.
This gives you quick progress and helps define the image early. After the main areas are finished, move into smaller details, edges, highlights, and second coats where numbers still show.
How do I clean my brushes between colors?
Use two cups of water: one for rinsing paint out and one for clean water.
Swirl the brush, wipe it on a paper towel, then lightly dip it in clean water if needed. Blot before painting so the brush is damp, not dripping.
What if my paint is too thick?
Add one tiny drop of clean water and stir slowly with a toothpick.
Do not pour water directly into the pot. Add a little at a time until the paint feels smooth and creamy. If it becomes watery, coverage will be weaker.
How long should each layer dry?
Let each layer dry at least 15 to 30 minutes before painting over it.
Thicker areas, humid rooms, and pale second coats may need longer. For varnishing, wait at least 24 hours after the final paint layer, or 48 hours if the paint was applied thickly.
How do I hide the printed numbers?
Use thin second coats after the first layer is fully dry.
Light colors often need extra coverage. For stubborn numbers under yellow, cream, peach, or white, place a tiny dab of white paint over the number first, let it dry, then paint the assigned color.
Ready to start your first project with clear lines, rich acrylics, and a design you’ll actually want to display? Explore our premium paint by numbers kits and choose a beginner-friendly canvas, a detailed adult design, or a custom kit made from your favorite photo.